
Installation
You can install your sliding wall yourself or leave it to us. Both are fine; below is an honest account of what each one means, so you can pick what suits you.
Fitting it yourself? Go to the guide and the poster ↓€ 590,00fixed price, VAT included
You add installation at checkout, with its own installation date that you choose. The price does not change with the width of your wall, and delivery is then free.
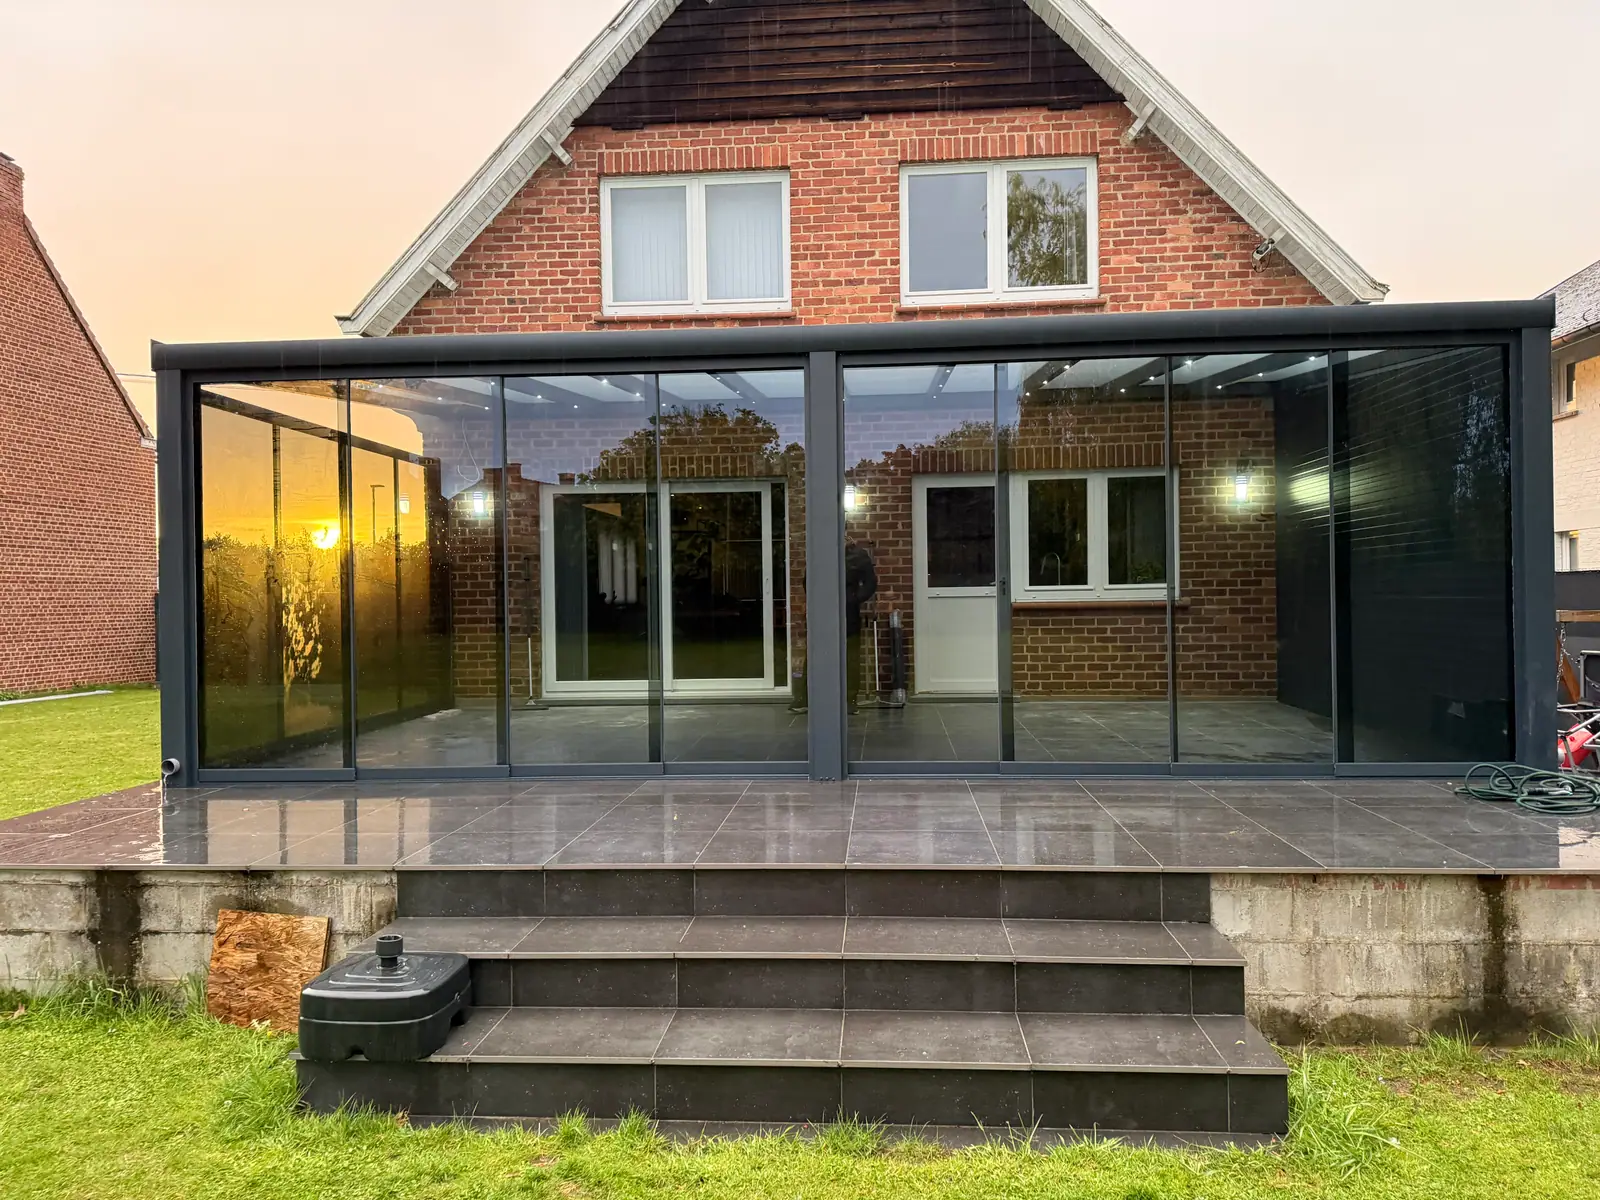
What installation includes
- ✓Fitting the tracks, panels and the hardware you chose
- ✓Adjusting the panels so they run smoothly and close properly
- ✓Removal of all packaging material
- ✓A 1-year warranty on the installation work, on top of 5 years on the materials
What you arrange
- ✓A clear, reachable opening: no furniture, plants or loose tiles in the way
- ✓A level, load-bearing surface under the bottom track
- ✓Power within reach for tools
- ✓Someone at home who can make decisions if something unexpected turns up
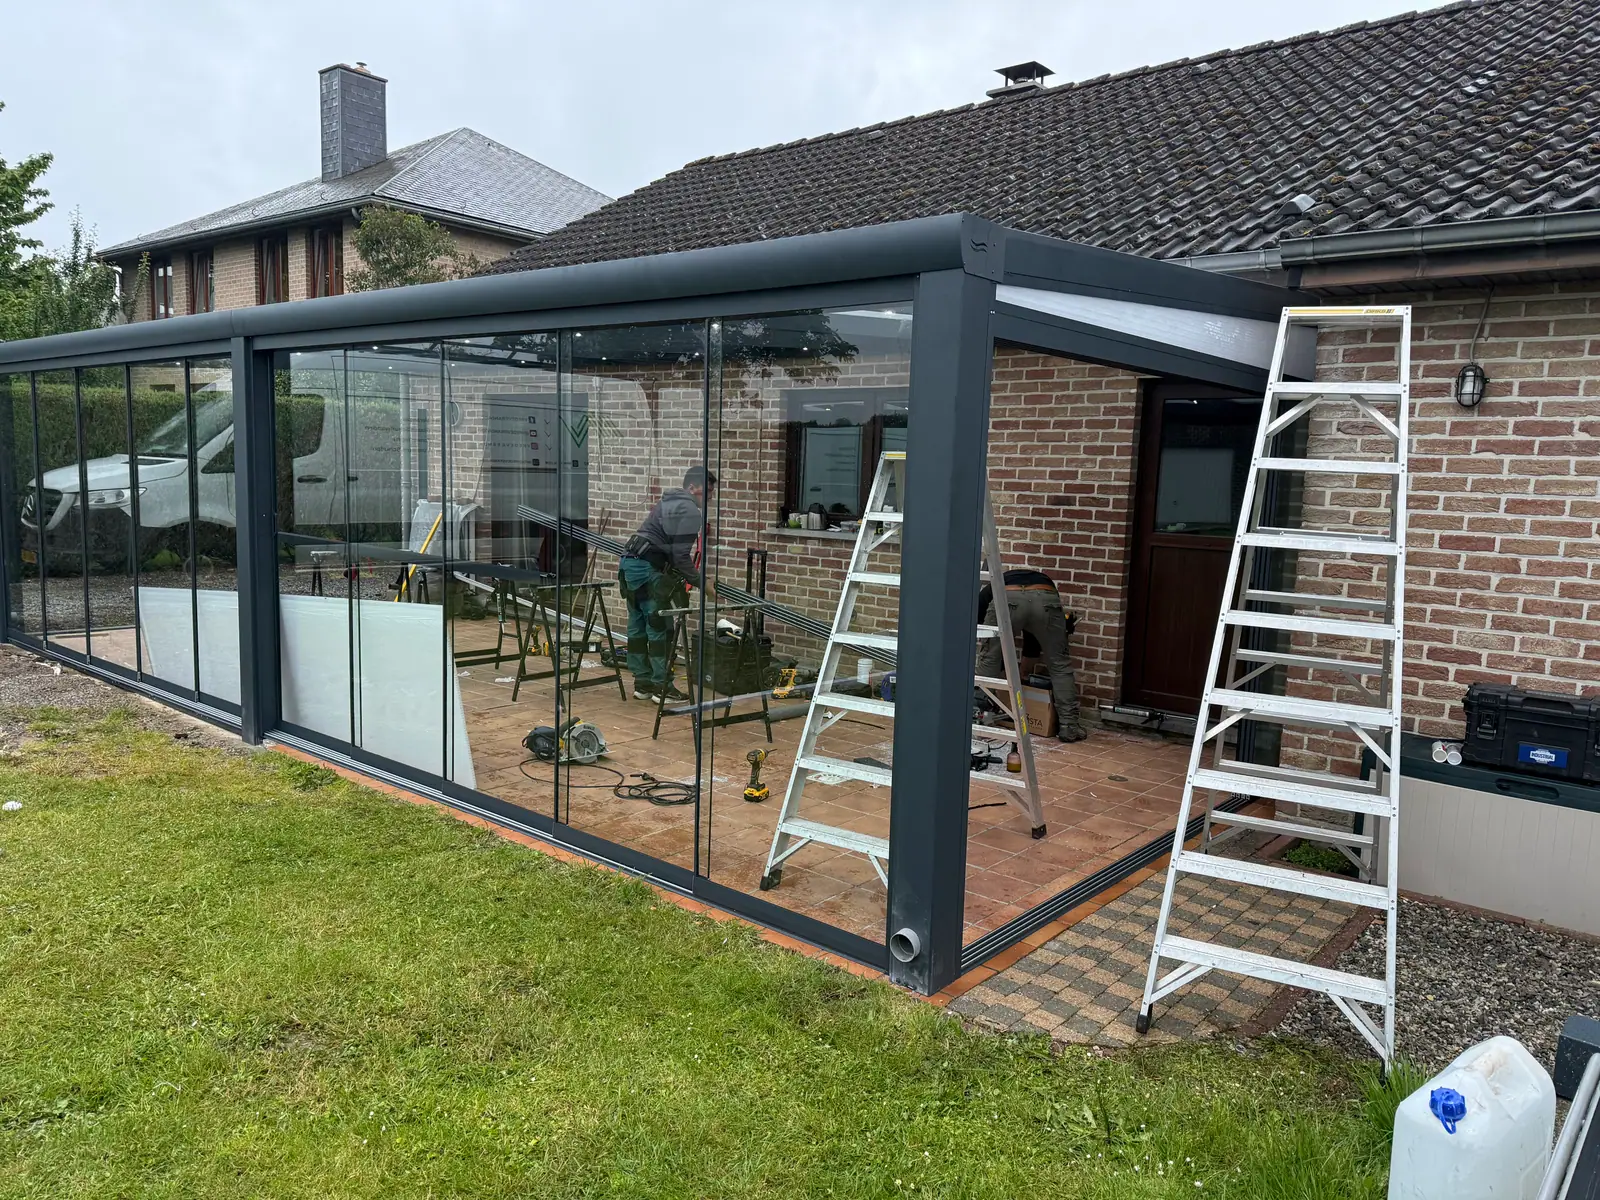
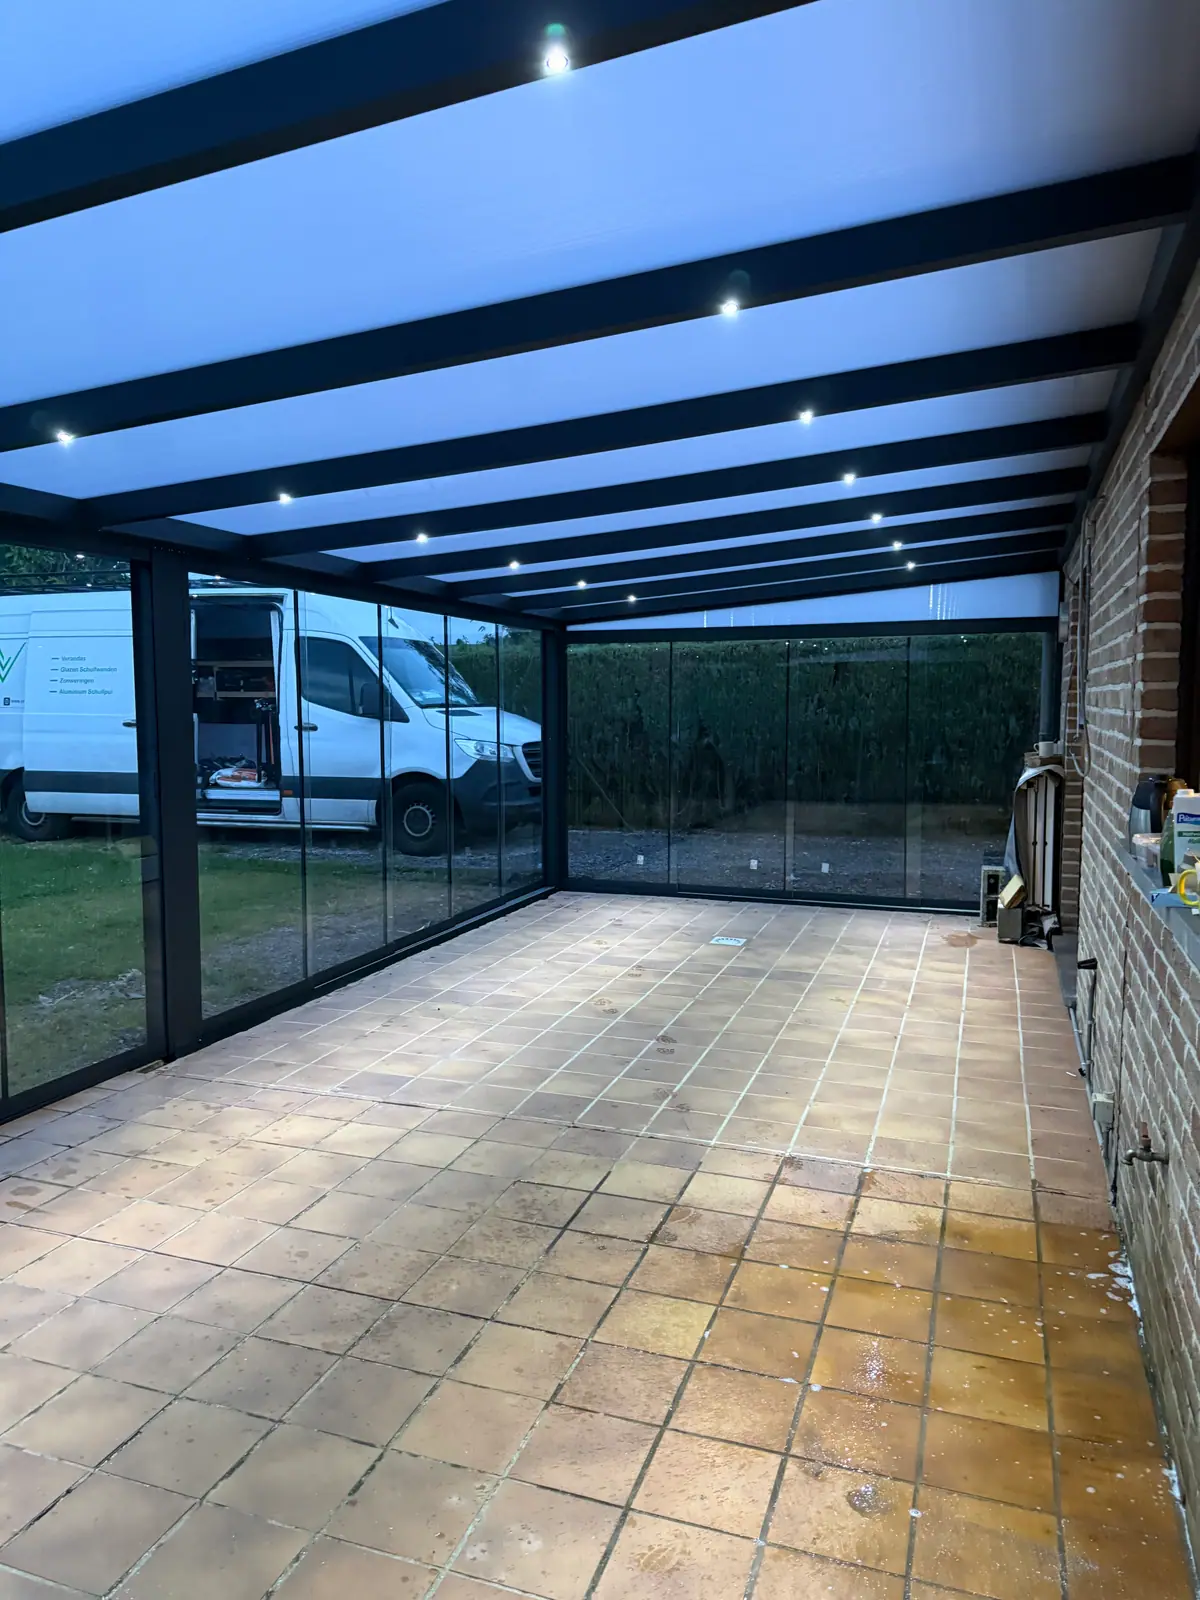
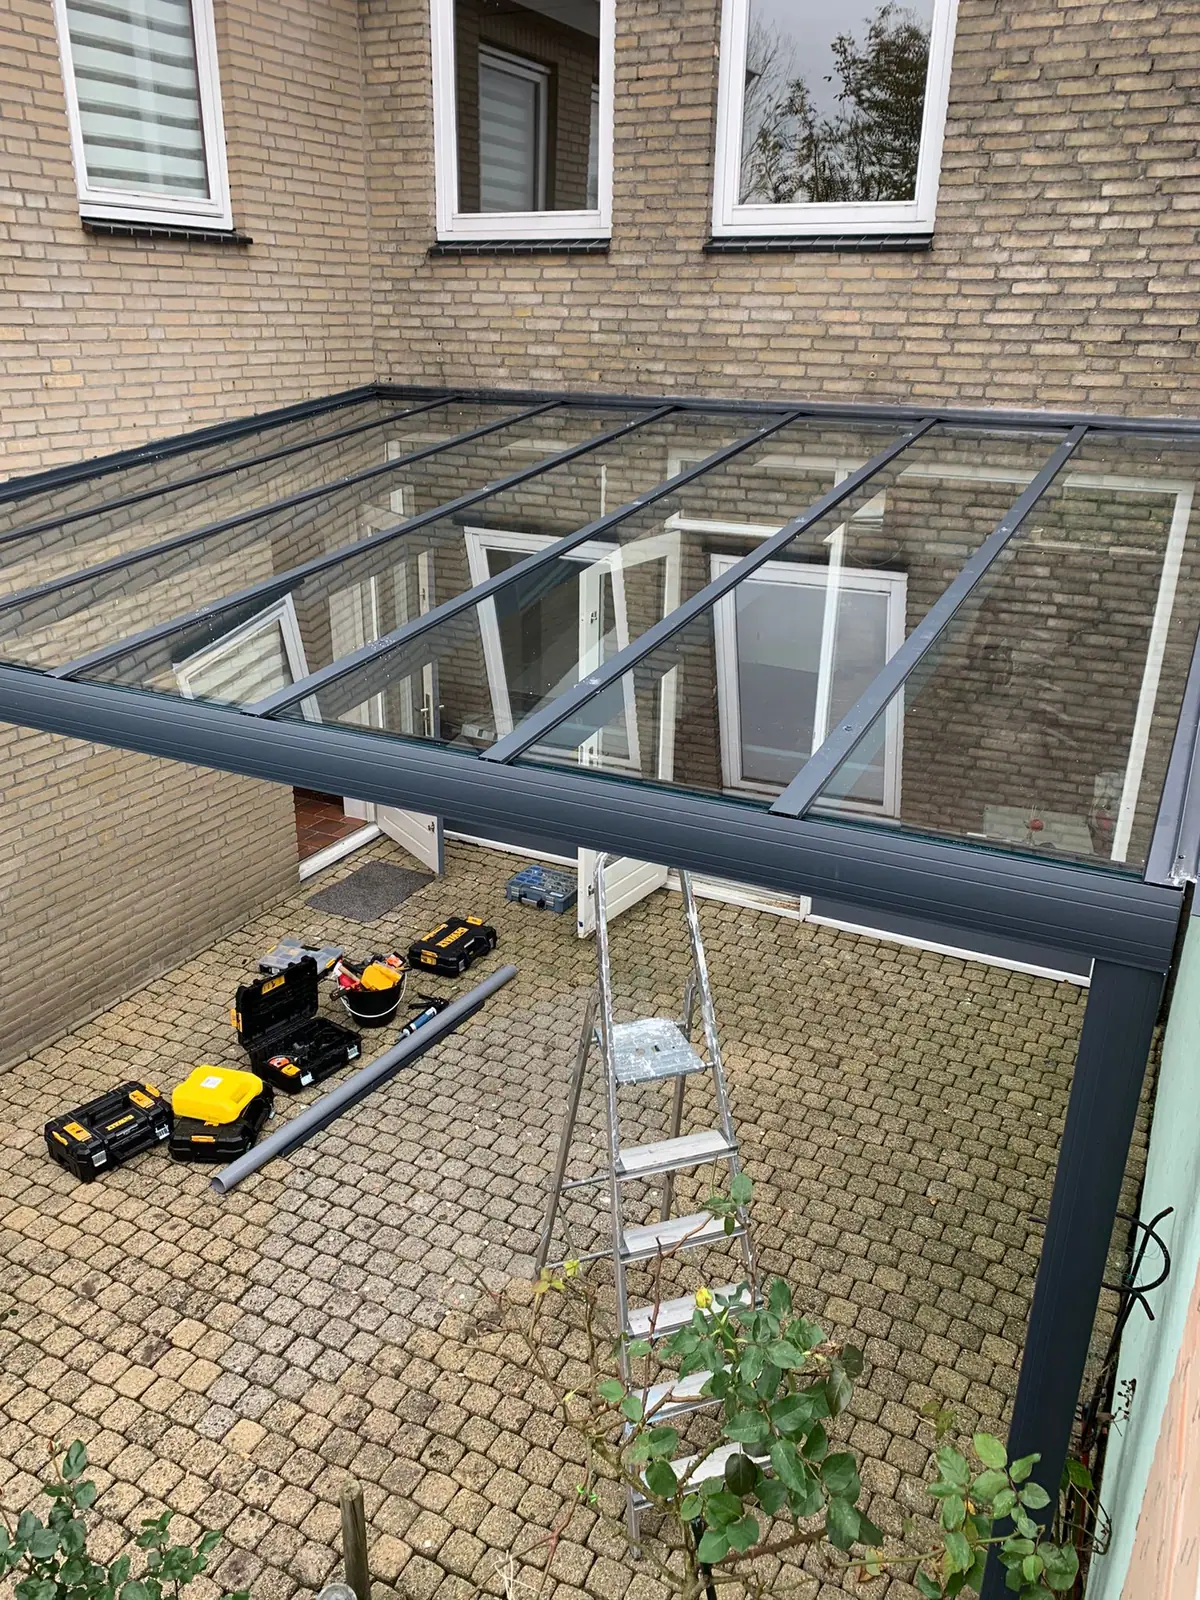
Our team, at a customer's home
Photographs by our own fitters, taken while the work was going on. No studio and no render: this is what it looks like at your place too, ladders and tools included.
How the day goes
- 01
Beforehand
We call you the day before with a time slot. Make sure the opening is clear and reachable and that there is power nearby.
- 02
On arrival
Our fitters walk through the situation with you and check the measurements against what was produced, before anything is fitted.
- 03
Fitting
The wall is usually in place within one day. If your situation is unusual, you hear that beforehand, not halfway through.
- 04
At handover
We go through every panel together: does it run smoothly, does it close everywhere, does the lock seat properly. Only then do we tidy up and leave.
Rather do it yourself
Every sliding wall comes with a manual and all the fixings. With two people and ordinary tools you are typically busy for half a day. The glass is heavy: do not do it alone.
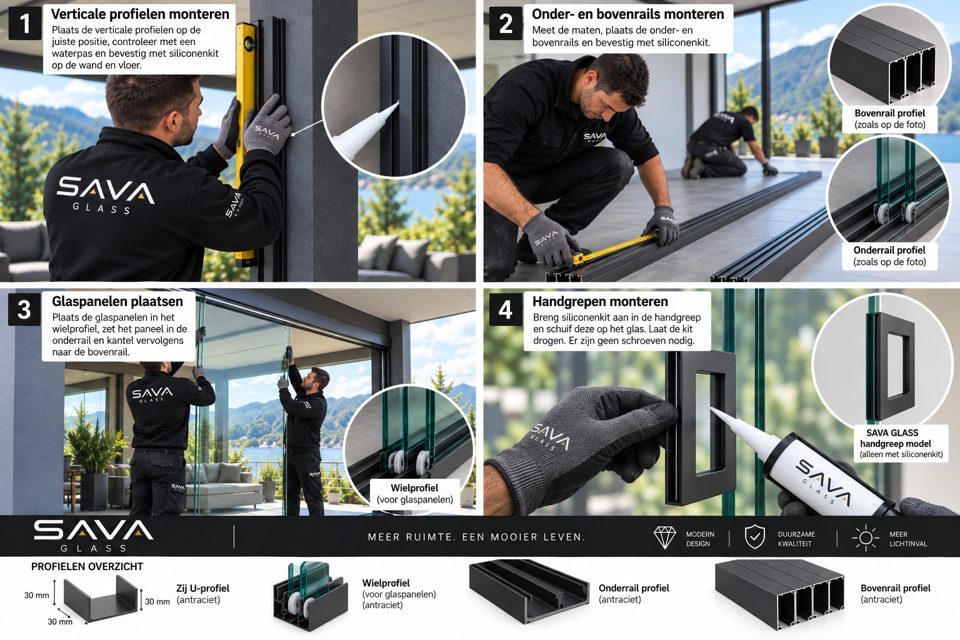
Also in: DE · FRPDF, about 4 MB, with a picture for every step and an overview of the profiles
There is no English version; this one is in Dutch.
Fitting it yourself, in four steps
Mount the vertical profiles
Put the vertical profiles in the right position, check them with a spirit level and fix them to the wall and floor with silicone sealant.
Mount the bottom and top rails
Take the measurements, place the bottom and top rails and fix them with silicone sealant.
Place the glass panels
Fit the glass panels into the wheel profile, stand each panel in the bottom rail, then tilt it into the top rail.
Mount the handles
Apply silicone sealant inside the handle and slide it onto the glass. Let the sealant dry. No screws are needed.
If you install it yourself, SAVA Glass is not liable for damage caused by that installation. That is article 10 of our terms and it is not small print: glass that is set wrong can break. The warranty on the materials themselves still applies.
Measuring instructions →And if something is not right?
If you find a defect at handover or afterwards, report it as soon as possible with a few photos and your order number. We respond within one working day. What is covered and what happens next is on the warranty page.